This play is a Chicago action disguised with an early Pistol setup.There are several backdoor opportunities built into t
77 (because the icon for screen looks like a 7) or Double Drag is an early-offense action that helps to open the middle
SLOB play designed specifically for late-clock situations when you need a 3. Made famous by Brad Stevens when he was coa
A play designed to get your point guard or 2-guard attacking downhill with speed. Works well against standard man-to-man
This is a corner stagger series that creates multiple scoring options out of the same setup. Using the same alignment fo
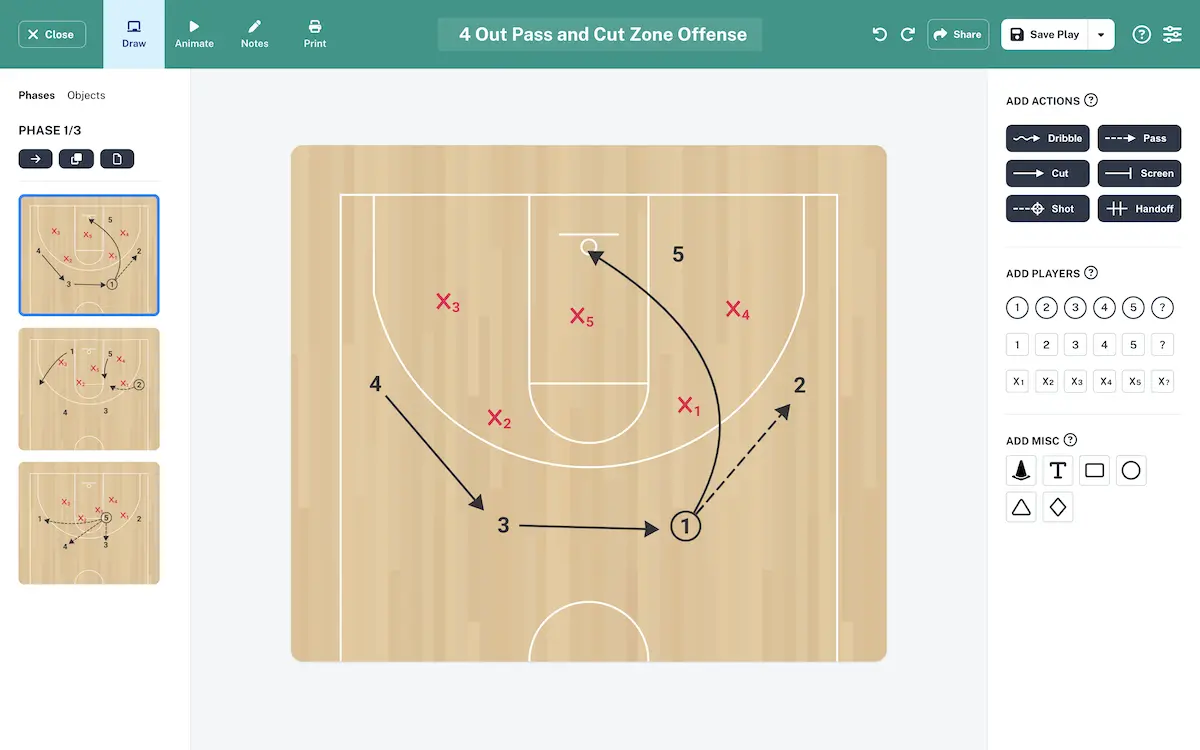
This is a 2-3 Zone offense that works against teams that guard the two-man action with only the front line. It forces an
Horns Elbow Get is a variation of Horns High-Low Action
Horns Stagger is a stagger action out of the Horns alignment. Blast is another term for a backdoor cut. Combining the two creates a Horns Stagger variation.
Horns Flex: perhaps the most well-known and oldest offensive action out of the Horns setup
A high-low pass out of the Horns alignment is effective when you have a big who can pass from the high post and another who can establish strong position inside.
The split action is when the ball is passed from the point guard to one of the bigs at the elbow, and the point guard they immediately screens for the other big at the elbow or for the player in the strongside corner. This creates a quick two-man screening action on the perimeter, commonly referred to as a "split."
Zoom Action is an action where the player receives an off-ball screen and handoff to initiate the offense. Horns Zoom is Zoom Action in Horns alignment.
The ball handler can initiate the offense by passing to one of the bigs at the elbow, then immediately following the pass to receive a simple handoff. As soon as the pass is made, the opposite big cuts hard toward the basket, looking to draw help or slip behind the defense.
In Horns Flare, after the ball handler uses the first screen, the initial screener receives a flare screen from the big on the opposite elbow. This action allows the first screener to cut out to the three-point line, creating a clean look for a catch-and-shoot opportunity. Meanwhile, the second screener—who set the ball screen last—rolls hard to the basket, occupying help defenders and forcing the defense to choose between protecting the rim or chasing the shooter.
In the Horns Twist, the ball handler uses both screens sequentially to throw off the defender and disrupt the coverage. The ball handler attacks one direction off the first screen, forcing the on-ball defender to commit—then quickly changes direction to use the second screen, shifting the action to the opposite side. It’s similar to a twist screen or Varejao action, but executed with two screeners from the start.
Horns screen action can turn a simple 2-man game into a 3-man action. The big who sets the screen has two options: they can dive to the basket, looking to capitalize on any gaps created by the defensive coverage, or they can pop out to the perimeter for a potential catch-and-shoot opportunity. If the screener rolls, the big on the opposite elbow will pop out to the perimeter. If the screener pops, the opposite big will dive toward the basket instead. This preserves spacing and maintains pressure on the interior defense. Either way, this basic action already creates a three-man read: the roller, the popper, and the ball handler. It gives the offense multiple layers of decision-making right out of the gate.
In the Horns setup, the ball handler (typically the point guard) starts at the top of the key. Two bigs—usually the power forward and center—position themselves at each elbow (the high post areas), while the remaining two players space out in the corners. This 1–2–2 shape resembles the horns of a bull, which gives the offense its name.
As shown in the previous example, integrating Zoom Action into a team's motion offense is a common strategy. Take a look at the Wizards' Zoom Motion Series to see how they seamlessly incorporate it into their offensive flow.
There are multiple ways to initiate Zoom Action. Here, the Boston Celtics use the popular Horns setup to trigger the action.
Zoom Action has become so popular that coaches often disguise it to keep the defense from anticipating the play.
Zoom Action is so widely used that defenses often anticipate a specific path once they recognize the setup. Coaches can leverage this expectation by incorporating decoy movements, creating different scoring opportunities while maintaining the same structure.
The advantage of running Zoom Action at the elbow is the multiple offensive options if the primary action breaks down.
While the corner-to-top Zoom Action is widely recognized as the standard setup, another common variation involves running Zoom Action from one wing to the other while keeping players spaced in the corners.
The diamond press positions four defenders in a diamond shape with a fifth playing safety. This formation creates natural pressure points across the court, making it difficult for opponents to advance the ball efficiently. When properly implemented, the diamond press can be one of the most effective weapons in your defensive arsenal. It's not just about forcing turnovers – it's about controlling the game's rhythm, wearing down opponents mentally, and creating the type of defensive identity that defines championship programs.
Switch defense occurs when the screener's defender takes on the ball handler while the on-ball defender covers the screener following the screen. As the name suggests, the two defenders switch assignments, each matching up with the offensive player closest to them. Since this strategy eliminates the need to fight through screens, it is theoretically the simplest defensive approach to execute.
Weak defense is almost always paired with Ice defense. While Ice is designed for side screen actions, Weak defense is used for middle screen actions. Its primary goal is to force the ball handler toward their weak, non-dominant hand—left for right-handed players and right for left-handed players. However, since identifying the non-dominant hand isn’t always straightforward, many coaches simplify the terminology by using "Weak" to mean left and "Strong" to mean right.
Blitz Defense is essentially a sudden double team on the ball handler. At higher levels, this scheme isn’t used on consecutive possessions, as it’s easily exploited. However, at lower levels, I’ve seen it work possession after possession, often shifting the momentum of the game because many ball handlers struggle to handle the pressure, and the teammate receiving the pass often fails to make the right decision.
Hedge defense pushes emphasizes immediate pressure on the ball handler to force quick passes or turnovers.
In a low drop, the screener’s defender is positioned near the nail, sometimes even deeper into the paint.
High Drop defense raises the screener's defender to make it easier to contain the ball handler compare to a low drop defense.
Ice defense, also known by many names like Blue, Down, or Push, aims to force the ball handler towards the sideline. Most teams use screens to attack the middle of the paint, creating multiple options, but Ice defense disrupts this by steering the screen action to the side.
The box and 1 is a hybrid defense that combines man-to-man principles with zone concepts to create defensive chaos and neutralize a dominant scorer.
This is an incredibly simple spread Pick & Roll yet highly effective because it simplifies the offense to a single read.
Switch defense is arguably the most overused strategy at the professional level, as it effectively counters offenses that rely on multiple screens within their flow. The main drawback of switching is that it often creates mismatches, but at lower levels, few players are skilled enough to fully exploit these opportunities. At higher levels, teams mitigate this risk by deploying lineups with versatile defenders who can guard multiple positions, effectively neutralizing potential mismatches. While attacking mismatches remains a common and viable option against Switch defense, there are also other effective strategies to counter it.
Blitz defense occurs when the on-ball defender and the screener’s defender immediately trap the ball handler during the screen action. The goal is to catch the ball handler off-guard and force turnovers. However, if the ball handler is prepared and knows how to counter Blitz defense, it can be easier to exploit than Hedge defense. This is because defenders are often less controlled and more aggressive when jumping out to execute the trap, creating opportunities for the offense to capitalize.
Hedge defense has long been a cornerstone of screen coverage, especially against offenses that lack strong floor spacing and shooting. By applying immediate pressure on the ball handler, Hedge forces them to either give up the ball early or struggle to initiate the offense effectively, disrupting the flow of the opposing team’s attack.
The goal of Weak defense is straightforward: to force the ball handler toward their weaker hand. Since the majority of players are right-handed, Weak defense typically means "forcing them left." To avoid confusion, many coaches simplify this by defining Weak as "left" and Strong as "right". Weak Defense is almost always paired with Ice coverage being used for side screen actions.
Ice defense, also referred to as blue, down, or push, is designed to force the ball handler toward the sideline. Many teams prefer to set screens that allow the ball handler to attack the middle of the court, where more scoring opportunities typically arise. Ice defense counters this philosophy by having the on-ball defender jump toward the screen, leaving the ball handler with no choice but to reject it and drive toward the sideline.
As teams began countering the Low Drop with a High Screen, a new defensive strategy emerged—the High Drop. This coverage addresses the spacing weaknesses of the Low Drop while continuing to protect the highest-percentage shot in basketball, the layup, through the "no man behind" defensive philosophy. Additionally, it still encourages the most inefficient shot in basketball: the long two-pointer. However, like any defensive scheme, the High Drop is not without its vulnerabilities. There are effective ways to exploit this coverage and turn it into an advantage for the offense.
In a Low Drop coverage, the screener’s defender drops deep into the middle of the paint to prioritize protecting the rim and contesting the highest-percentage shot in basketball—the layup—while deliberately allowing the least efficient shot: the long two-pointer. This strategy also offers additional benefits. It adheres to the defensive philosophy of "no man behind," enabling two defenders to handle the pick-and-roll without needing help from a tag man or a low man, thus keeping the rest of the defense intact.
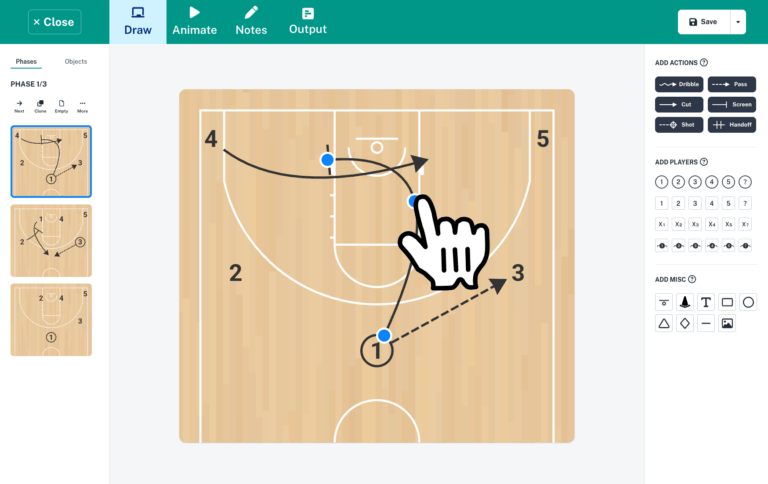
Create plays within seconds with an intuitive drag & drop interface.
Your plays will be animated automatically!
© 2026. The Hoops Geek