In a Low Drop coverage, the screener’s defender drops deep into the middle of the paint to prioritize protecting the rim and contesting the highest-percentage shot in basketball—the layup—while deliberately allowing the least efficient shot: the long two-pointer. This strategy also offers additional benefits. It adheres to the defensive philosophy of "no man behind," enabling two defenders to handle the pick-and-roll without needing help from a tag man or a low man, thus keeping the rest of the defense intact.
Many coaches teach players to set screens at a 45-degree angle, with their back facing the corner of the court. While this advice is generally effective for on-ball screens, it often fails to explain why the 45-degree angle works so well.
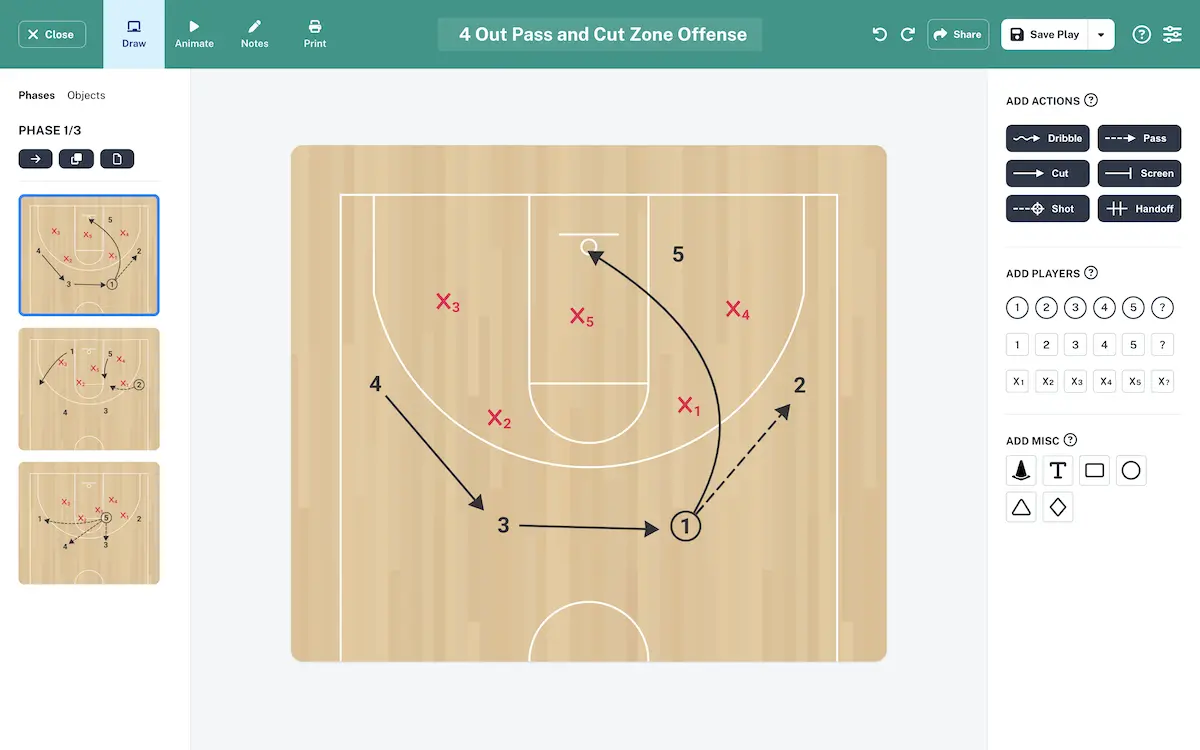
This is a continuous offense that is particularly effective against a 2-3 zone. It is depicted here with the defensive shifts and all of the potential options. This offense works best when your players are equipped with basketball skills, such as the "read and react" knowledge.
This play is best used against 2-3 zone but will work against man-to-man if players make good cuts.
This is a quick hitter play that is great for the end of a quarter. It works best against a zone, but also works against man-to-man.
This is a continuous offense that can be used as a quick hitter. This works against any half court zone.
Outlet pass & transition after a defensive rebound
This play starts with the ball handler drawing their defender into an initial ball screen, then quickly pivoting to receive a second screen from the opposite side. It’s tough to defend because the defense must navigate two screens in rapid succession.
The Horns "Flex" play elevates the standard Horns set by introducing more dynamic and engaging actions. This variation of Horns, gets the wings involved and uses the zoom motion to create scoring chances.
The foundational concept of the horns offense emphasizes floor spacing, creating an ideal setup for a traditional pick-and-roll action with a backdoor cutting option toward the basket. Corner wings play a critical role by maintaining proper spacing to stretch the defense. If the wing defenders collapse to help, the wings must be prepared to capitalize on a kick-out for a high-percentage three-point opportunity.
The high post is a vulnerable position in the 1-3-1 zone defense and we try to force the ball out of there as quickly as we can.
In the tight 1-3-1 Zone Defense, all the same rules apply except the defense is not trapping AND the players are more tightly packed in during the entire defensive possession. The main goal is to prevent the ball from entering the zone, and if it does, to quickly collapse on it and force it back outside.
As the dribbler crosses the half-court line, the ball-side wing will step up and set a trap. We try to force the offense to pick up the dribble and throw a weak lob pass that we can pick off.
As the name suggest, the 1-3-1 zone defense is set up in a 1-3-1 formation. It can be used in a multitude of ways - as a base defense, a change-of-pace defense, a trapping defense, and more.
If we want to put extra pressure on the offense we can play a 1-3-1 Zone Defense where we start picking up the ball at the opposing free throw line.
When the offense passes the ball to the corner we want to trap the player with the ball and force a soft lob pass over the zone that we can pick off.
This is a play out of the Stack formation that has multiple options for quick scores.
This extremely simple inbounds play will help you to get the ball thrown in without turning it over...and maybe score some points.
This is a classic set that has gotten many teams layups over the years. The pick-the-picker action confuses the defense and leaves open opportunities at the rim.
Iowa ran this BLOB to try and get shooters open when they needed a 3. The over cut and elevator action is tough for defenses to defend.
This is a very simple play designed to get an open mid-range shot for our best shooter or an open layup for one of our bigs.
Jeff Capel and Pittsburgh ran this play and had some success with it in ACC play. This is a good set if you have a shooter who you want to get the ball.
"4 Low Clear" is an inbounds play that becomes an isolation set for a driver out of 4-low alignment. This is a simple set that can get the ball to one of your best playmakers and give them space to make a play.
This classic baseline inbounds set helps to get your shooter (1) a clean look from 3.
A simple BLOB that can be used at any level to try to go for a quick score.
In the 2-3 Zone Defense you want to avoid the ball going to the High Post at all cost! If it happens anyways, a good passer has 4 passing options which makes it very hard to defend. Our goal is to pack the zone and prevent a high-low pass. At the same time, defenders need to be prepared to close out on shooters after a pass.
When the ball is in the corner we try to prevent passes to the high post and low post. We can sag off and pack the paint, or force the player with the ball to make a play.
When the ball is on the wing the job on the zone defense is: * To deny a pass to the high post (very dangerous) * Deny a pass to the low post We are okay with passes to the corner or back to the top of the key / ball reversal.
In the 2-3 zone defense with the ball at the top of the key our job is to: * Make sure that the point guard can't attack the paint * Deny the pass to the high post We are encouraging a pass to the wing, the forwards have to be ready to help out if necessary.
The 2-3 zone is the most popular and well-known zone defense. It can be used as a way to change pace, slow down a more aggressive team, or equal the playing field. It can also be used as a way to showcase your athleticism and length, force turnovers, and make teams uncomfortable.
With this option, you are positioning your inside player at the free throw line or elbows (think Princeton offense).This
If you’re using this option, you have a post player who is a threat when they catch the ball inside and you want to get
If you’re using this option, the post player is always moving block to block depending on where the ball is located. Thi
Another rule you could add involves ball screens. A coach could instruct their players to follow their pass and go set a
* You can add a rule that states: once the ball is passed, the passer must set a screen away from the ball. * The cutter who uses the screen now becomes the cutter to the rim and the same basic rules apply. * When first installing this, it might be wise for the coach to instruct the player who is receiving the screen to always curl tight to the rim. Once this is mastered, the coach can give more freedom to the players to make their own reads and reactions (popping, flaring, rejecting the screen, slips, etc.) * Also, for the screener, coaches should emphasize popping back out following the screen. Oftentimes the screener defender will help on the cut to the rim. This allows the screener to pop out and be open for a shot - and sometimes a drive to the rim against a recovering defender closing out.
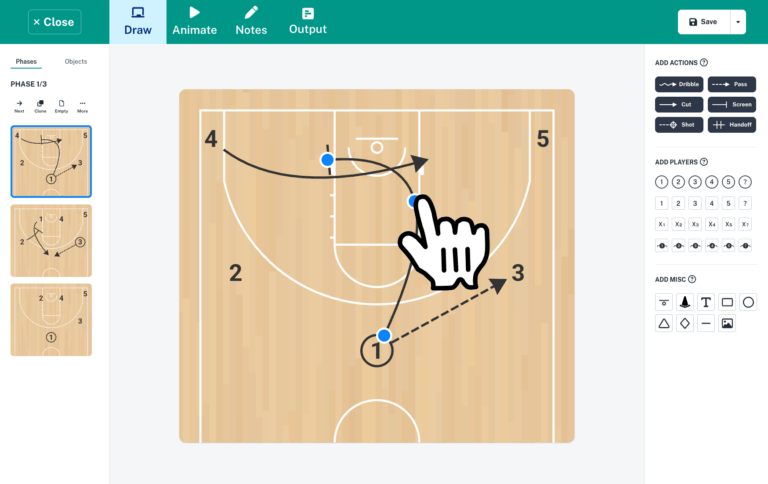
Create plays within seconds with an intuitive drag & drop interface.
Your plays will be animated automatically!
© 2026. The Hoops Geek